Notebook
J4YC33
Permalink
I want to work my way through the Astronomical League’s observing challenges…
In addition to everything else I do…
But to do that, I needed an astronomy log. I knew the kind of notebook I Wanted for this, and decided I was going to bind one. I’ve bound a good number of books in a few different styles, and thought I’d go fairly simple on this one with a card stock front and back cover and 45 sheets of printer paper. This gives me a chance to determine if I like the form factor of the book.
Warning: I am not a professional bookbinder, and this is a prototype so I can see if I like the style. The binding ends up with loose threading in places, and I made it on a shop table… in my shop… and may have used a pair of Farrier tongs to pull the needle through a hole at one point… As such the thread will change color to match… the grime on my hands and my shop table…
You have been warned.
Binding a book is a fairly straightforward process in theory.
Using either a glue, thread, or other binder one edge of a signature or signatures of sheets of paper is affixed such that the pages can be read by opening the unbound edge.
In practice… it is not.
In this post I’m going to walk through the basics of Japanese stitch binding. This is not difficult at all. Although I use a binding jig that I have bought for the purpose of binding books, I also walk through measuring and making a paper template if you do not have, nor want, a binding jig.
Ultimately, where you decide to place the holes is less important as getting them all lined up for punching and stitching.
Overall Process
The overall process for making a book comes in a few stages.
- Decide size and orientation of book
- Decide number of pages, and how signatures will be made
- Determine binding style to use
- Punch the pages for the binding (if necessary)
- Stitch the signatures
- Join the signatures
- Affix the Cover
Ultimately, these stages mold and form as any set of abstracted steps are wont to do. In our case, the decision of the first 3 was made for us, and we will walk through the others (although the last 3 steps will happen ALL AT ONCE! :-D )
Tools and Materials
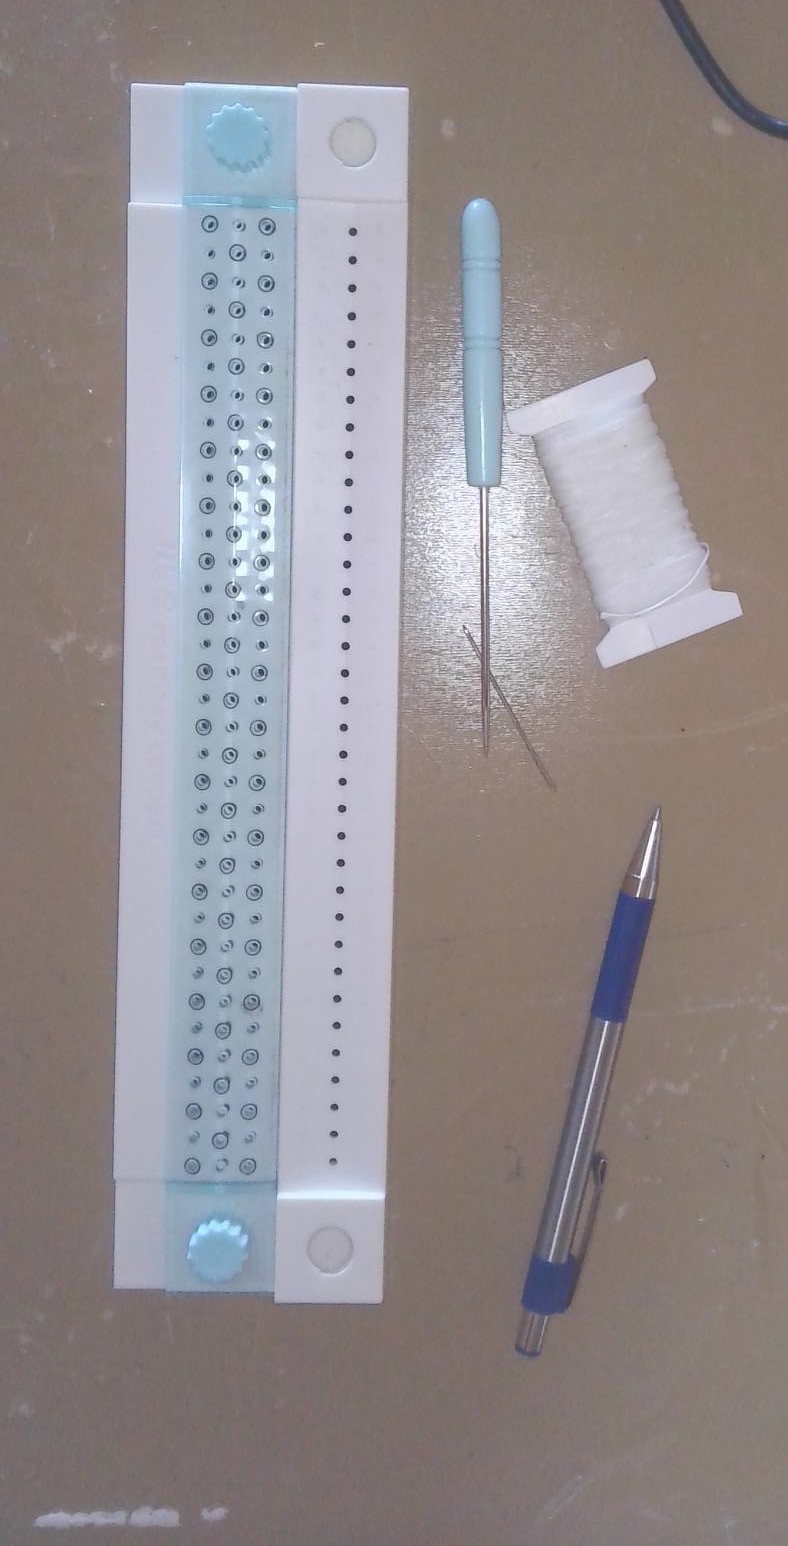
For this project you will need:
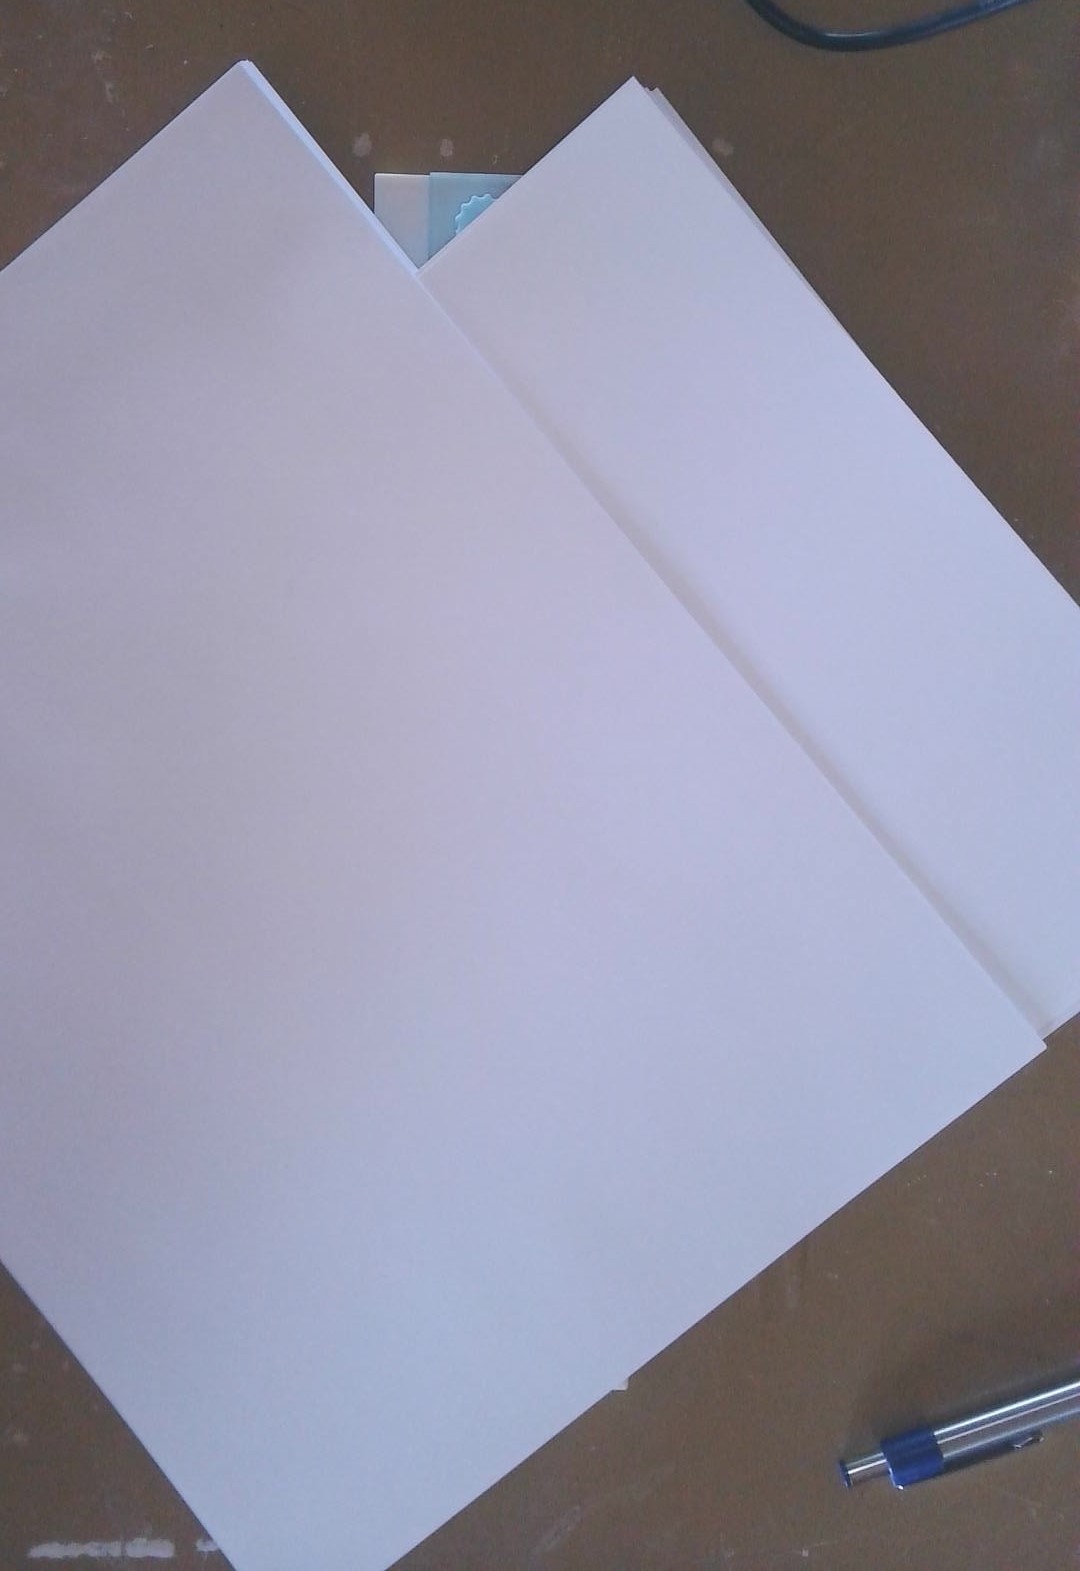
- Paper (as many sheets as you want in your notebook. We’re doing 8.5x11, but any size works.)
- Cardstock to match the paper (2 sheets)
- An Awl
- A pen
- Thread (I use Waxed, string works, whatever you use make sure it fits through the awl’s punches.)
- A needle, pulling thread?
- Fa… wait no
- Optionally, a binding saddle or binding jig… I think saddle is more officially correct
- If you don’t have a binding saddle you need a ruler/straightedge, Knife, and scrap of cardstock
What we want to do first is put our cover sheets (front and back) in the binding saddle. I do this such that I am punching on the right edge of the page. This means that I will need to flip the pattern of punches (if assymetrical) to bind the left side. I want an extra stitch point in the top left of my book, so I punched the pattern as indicated in the gallery below.


From here, we count out our signatures (I count them in units of 8, so I had 5) and start punching.
To make sure I hit the same points on the binding saddle I like to line up my covers as they were positioned in the saddle. Just for extra consistency.
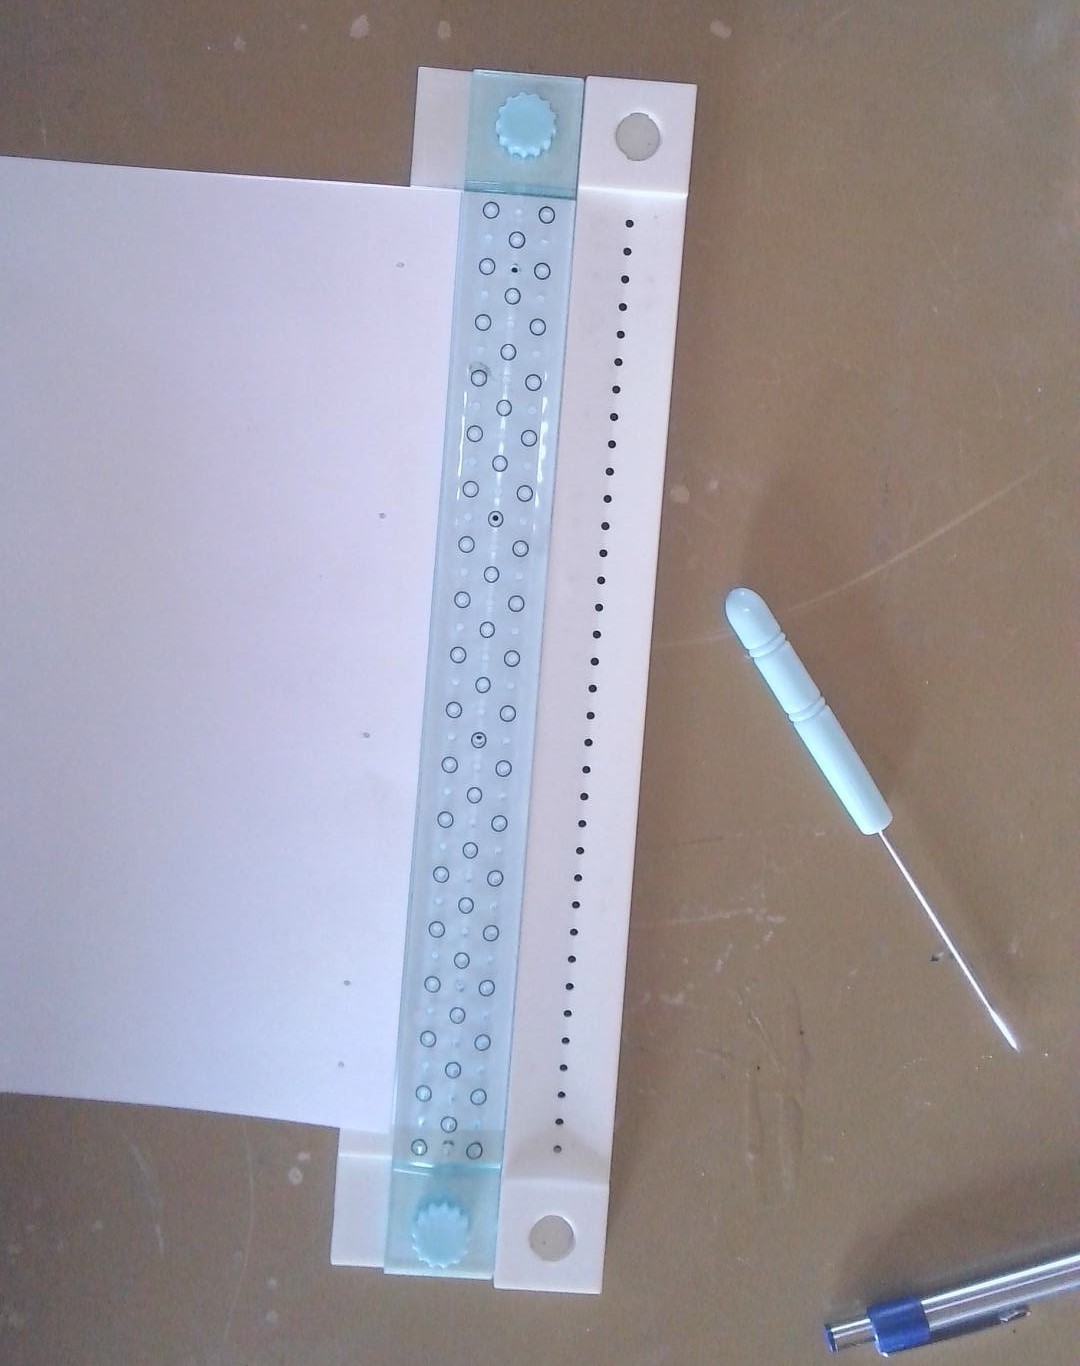
Now, just do this as many times as you have signatures. It helps, afterwards, to run the awl through the back as well to make a clear path for the needle and thread. (Even still, while not necessary a pair of pliers, or in my case smithing tongs, is useful to pull the damn needle through.)
A Diversion in Frugality
“But J4YC33… I don’t want to buy or make a stitching saddle…” I hear you cry.
LO! A solution appears.
A simple template for punching the binding can be made by measuring out the pattern on any scrap of card stock the same dimension as your binding edge. From here, simply mark the positions, punch the holes, and cut it to being, for our purposes, 1/2 inches from the edge of the page (make sure your holes are consistent from the flush edge of your template.) The process is demonstrated in the gallery below.


Back to the binding!
Once you have punched your signatures and covers, whether with or without saddle, it’s time to get stitching.
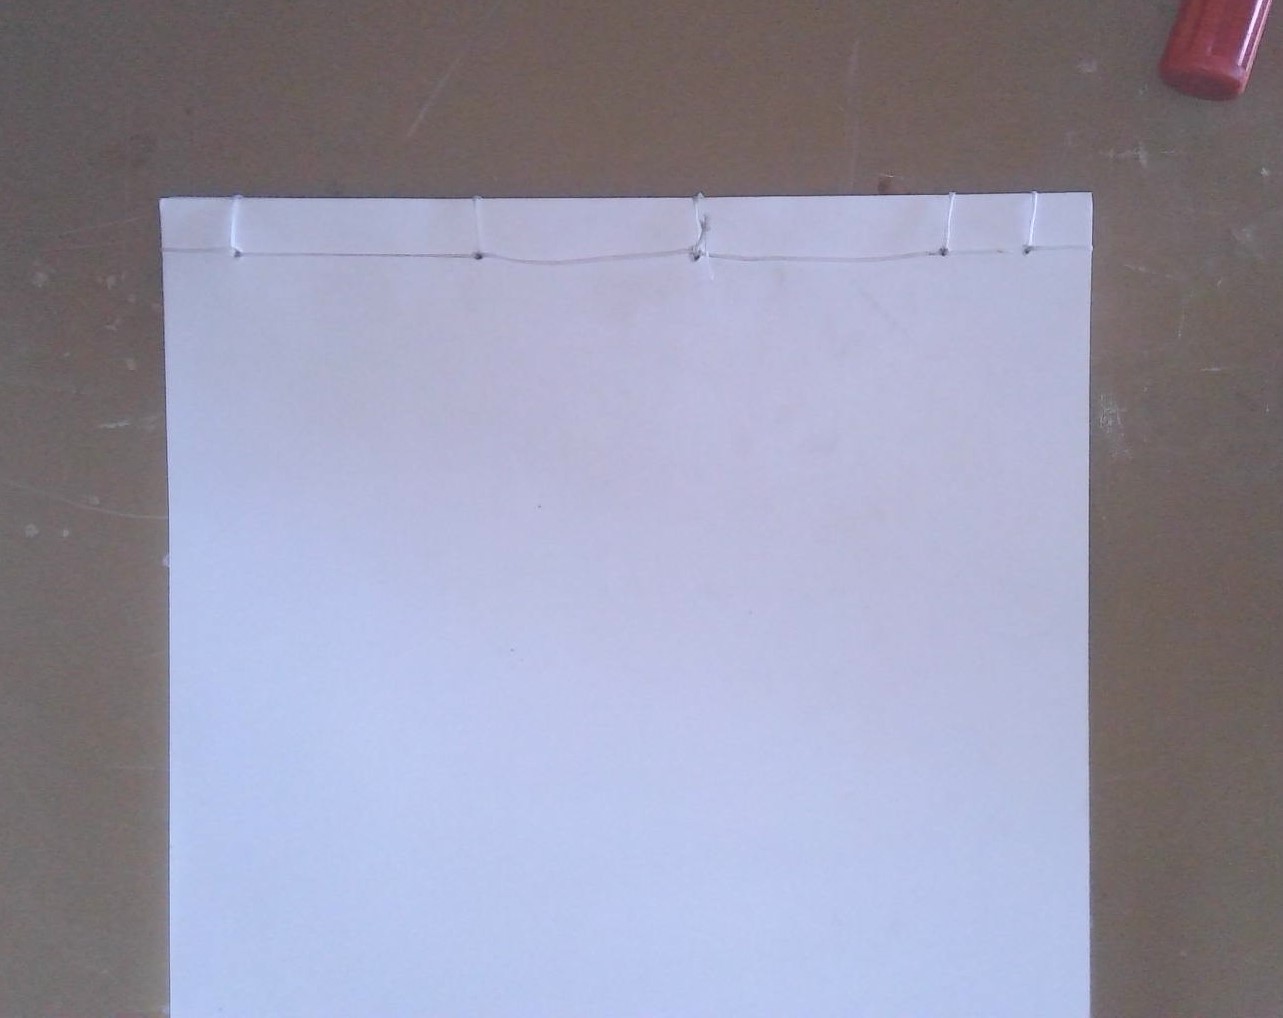
To do this, you want to stitch the middlemost hole from the back to the front, and then around the edge of the binding before proceeding up. This will allow for looping through the holes on the top half and bottom half of the book in such a way as to create complete binding stitches. Instead of trying to explain this process using clunky words, I demonstrate each step of the process in the gallery below.


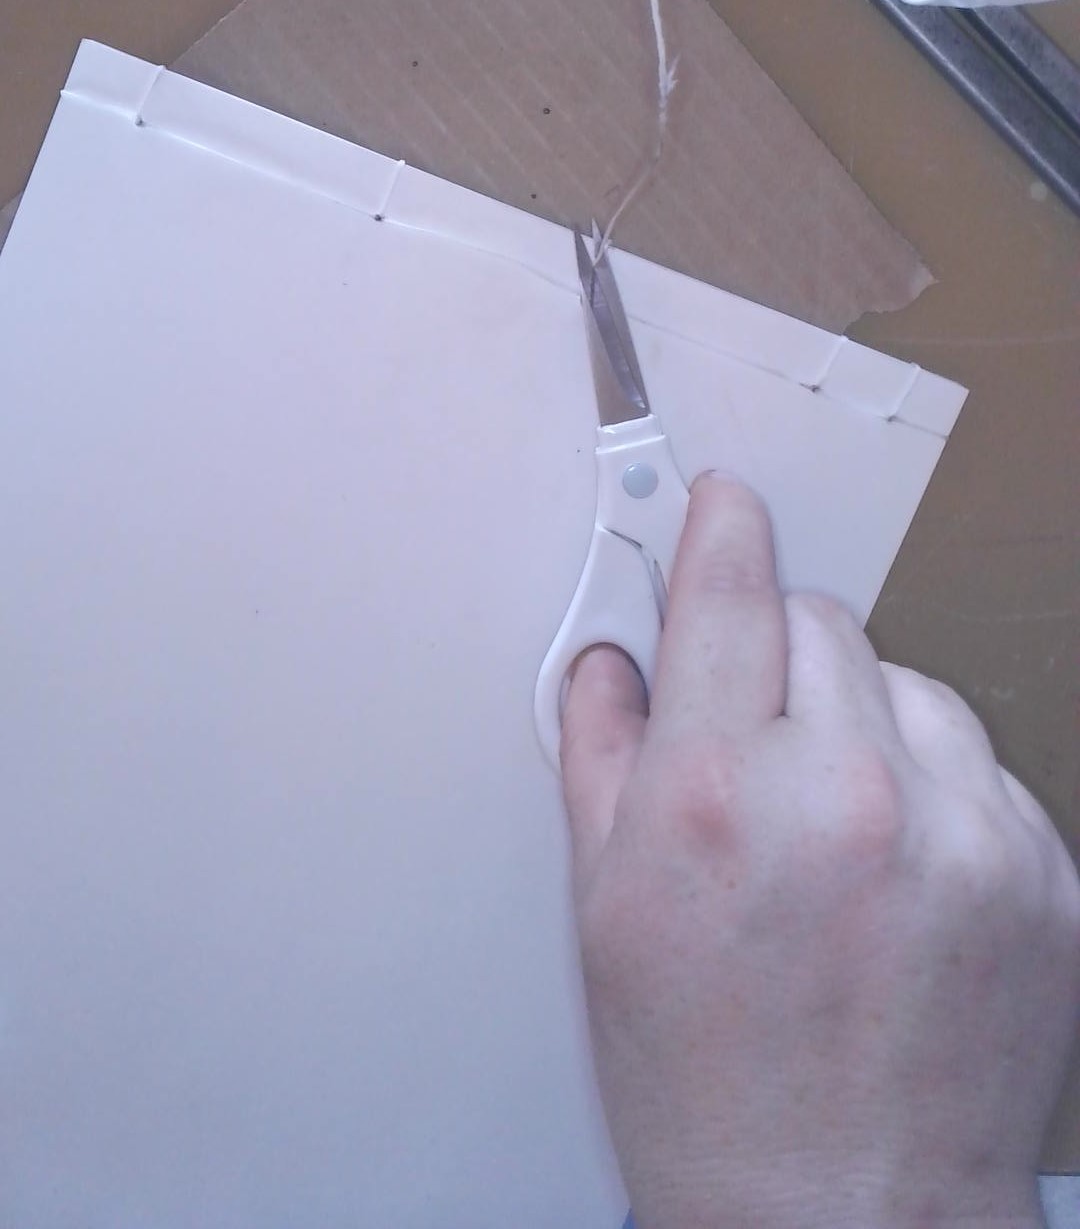
After this, the last step is to cut the stitching on the binding. (In a book I care more about, I would take the time here to pull the thread tighter, and make sure it was cleaned up… This is not one of those books…)
At this point, you have a book! Now go write things in it… or something. I have astronomical research to do!