Iso2usb
J4YC33
Permalink
So you need to install an operating system… as one so often does…
ISO to USB.
There are a few ways to do this. I’m not going to walk you through the manual way. I’m lazy, I only really manually allocate anything when it’s absolutely necessary.
In comes Rufus.
Rufus is a fantastic software that can be used to burn an ISO file to a USB in such a way that it can be read as a bootable media. This is exactly what we need for our installation.
Prerequisites
- I’m going to be using Parrot home edition. But any operating system install ISO should work. Linux is best (because reasons).
- Go ahead and make sure you download Rufus from the link above. Can’t really learn to use the tool without the tool…
Process
TL;DR
The highlevel process is as follows: 1. Run the Rufus exe. It’s portable so it works alone as an executable. 1. Tell Rufus which ISO to burn. 1. Give it the path to the USB you want to burn the ISO to. 1. Burn it. 1. Test the USB on the system you intend to boot it with.
Detailed Process with Screenshots.
The first thing we need to do is run the Rufus exectuable. The exe downloaded from the Rufus website is self-contained, or portable, and should run without a need to install it. When you open the executable, it should resemble fig 1.
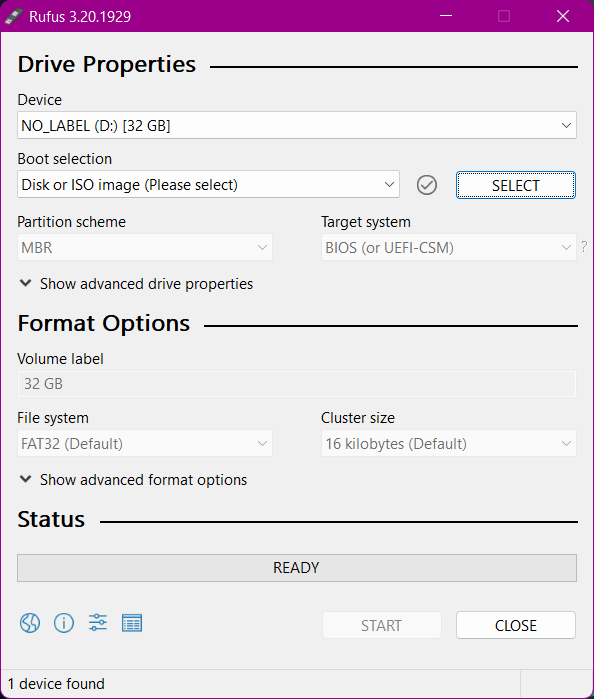
There’s really only one panel to this program. We need to point Rufus at our ISO file. In the image below I am selecting the Parrot Home ISO I downloaded. Obviously, you should be selecting your ISO.

Now, if your Rufus is anything like my Rufus, it auto selected the USB drive. If it didn’t you can use the dropdown in fig 3 to select the correct drive. If your drive isn’t visible… there’s a problem. You might try making sure the USB drive is plugged in.

At this point, all you have to do is select OK on the next screen. The DD mode is a direct bit copy of the ISO to the drive. This is necessary sometimes, but not usually. So, in this case: just click “ok”

There may be a couple more prompts. If so, they are self explanatory, and I suggest trying the defaults.
Once this process is done, you have your USB drive configured! YAY!
Now go try and boot it in a target system…